
Our last article talked about how to become your own best coach as single scullers are often left to their own devices. We discussed finding the right boat, adjusting it to your specifications and how to work on balance, with hand heights and blade depths central to the ability to set the boat. Here we'll talk more about the drive and the release and the all-important grip.
On the drive, you want the legs all the way down before the arms begin. Your arms are out in front of you and are easy to see. As you go faster and harder, it will be more difficult to discern when the arms begin relative to the legs finishing so start out slow.
And while you want to hold off on using your arms, you also don't want to lock the elbows. Again, look at your arms, see what they're doing. Are they rigid and stiff or loose? Rowing "legs and body no arms" will help you delay the arm pull, but again, don't lock the elbows while doing this drill.
While the catch can be very difficult to see while rowing, it's quite simple to turn your head just slightly to see the blades at the release. If one blade is consistently getting stuck, chances are you're finishing too low on that side. It may sound a little contradictory, but you'll need to keep that hand higher at the finish to keep the boat off that side so that you'll have room to release the blade.
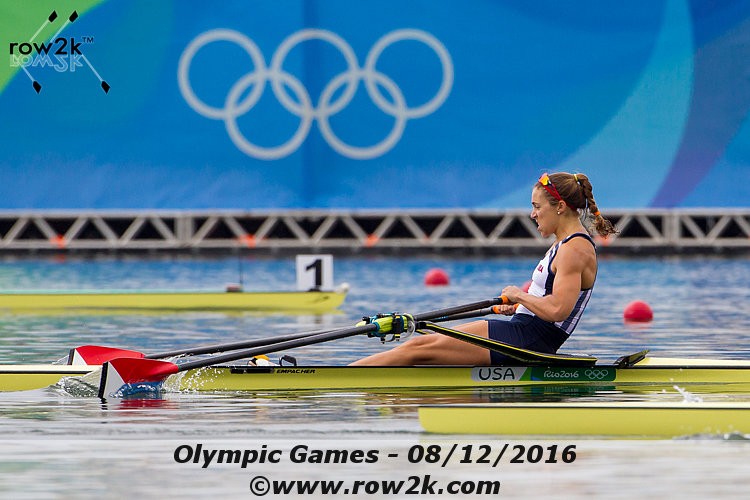
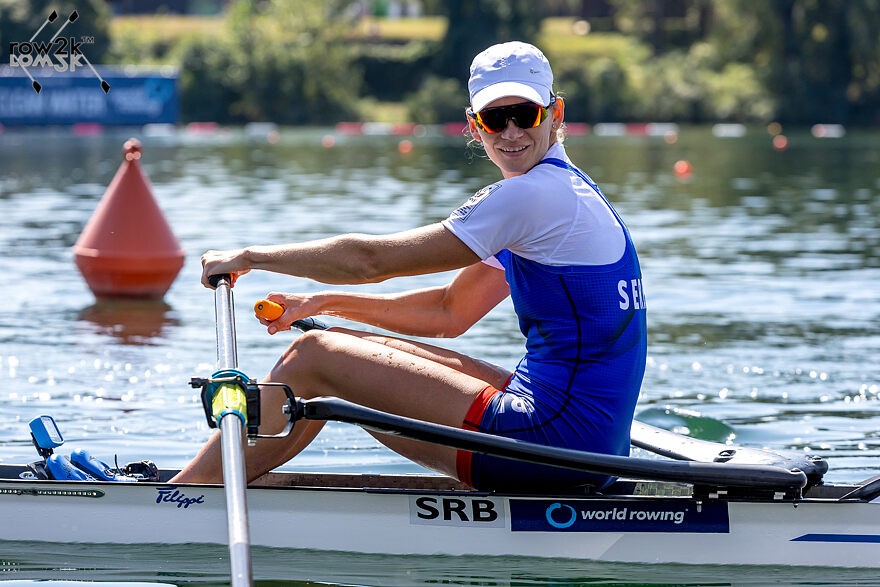
Ideally you want the two blades to release together and to start coming out of the water with the blades still square (as in the photo at the top of this article). When the blade is halfway out of the water - still square - that is when the feather begins. The blade should feather over the water, towards bow. If the blades get stuck, if you bring up a lot of water with the release, if the blade(s) come completely out of the water before the feather, you've still got work to do.
The easiest way to work on the release is to row one oar at a time, when you can focus on just one blade and watch it constantly. Row in circles and try to get the blade to release cleanly over the water; first the port blade, then the starboard blade, then both together.
Your hands are also easy to see, so check your grip. When the blades are square, the wrists should be flat and only the fingers should have contact with the handle. Don't press your palms into the oar at any time. Keep your thumbs loose. I like to say the hands have a mind of their own. If they got used to death gripping the oar, they will try to keep going back to that.

When the handles overlap mid-drive and mid-recovery, the knuckles of the right hand should brush against the heel or palm of the left hand. Try to feel that touch every drive and every recovery to know that you have the hands in the correct relative position.

In the end, though, there's only so much you can do to coach yourself. If you don't have another pair of eyes on you, then getting someone to video you can be a huge help. To get the most out of the video, you'll want to be able to go slow-mo/frame by frame/pause.
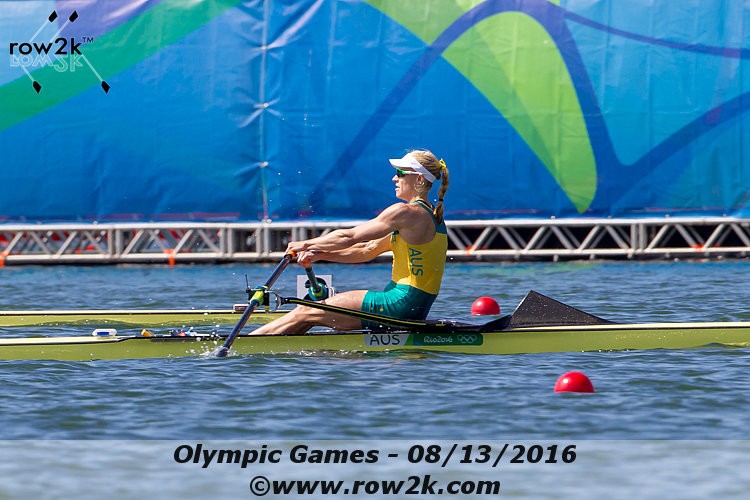
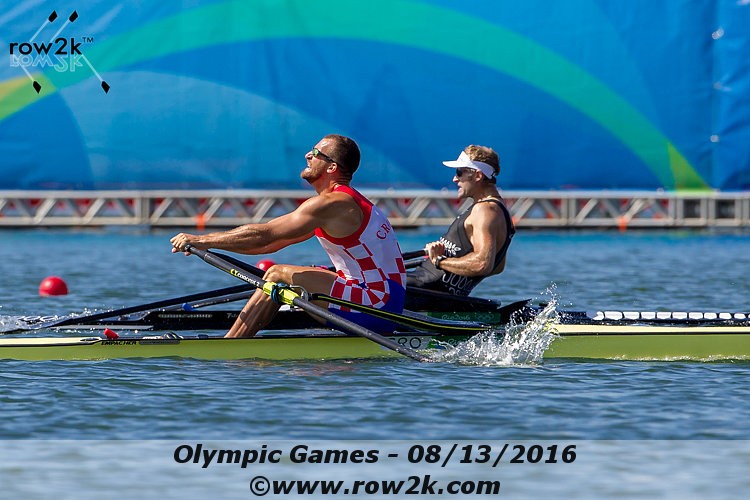
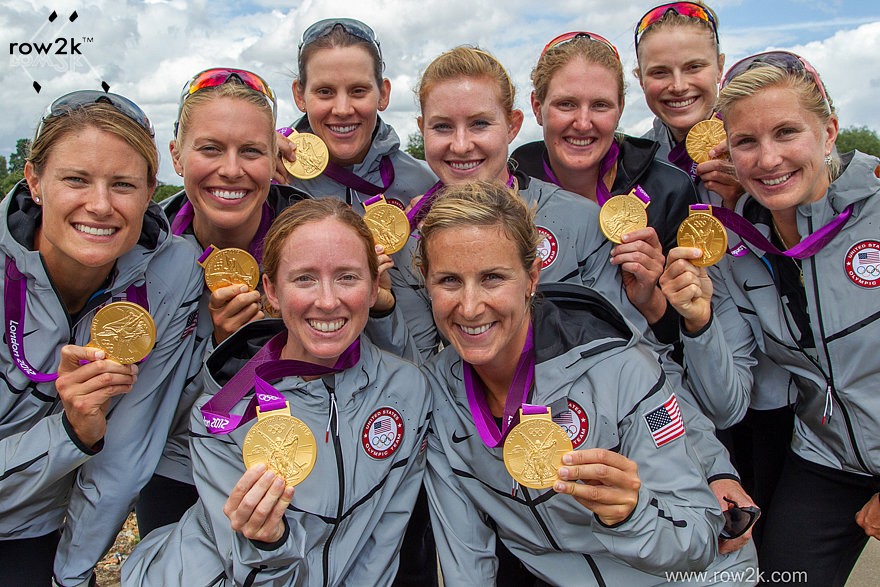
If you're not sure what certain parts of the stroke should look like, watch the Olympians, watch their form - and review not just one person but several (see below) so you can see the similarities. In my opinion, there are more similarities than differences these days. Look at the posture, the amount of layback, the position of the body at the catch, where and when the blade gets fully buried; study the grip, the crossover of the hands; see how the body moves during the drive and recovery - not mechanically but smoothly. Now compare all that to your video to help determine what you need to work on.


If you enjoy and rely on row2k, we need your help to be able to keep doing all this. Though row2k sometimes looks like a big, outside-funded operation, it mainly runs on enthusiasm and grit. Help us keep it coming, thank you! Learn more.
Comments | Log in to comment |
There are no Comments yet
| |


- Bont Rowing
- Calm Waters Rowing
- Concept 2
- Craftsbury Sculling
- The Crew Classic
- CrewLAB
- Croker
- Dad Vail Regatta
- Durham Boat Co.
- Empacher
- Faster Masters
- Filippi
- Fluidesign
- h2row.net
- HUDSON
- Live2Row Studios
- Nielsen-Kellerman
- Oak Ridge RA
- Peinert Boat Works
- Pocock Racing Shells
- Race1 USA
- RowKraft
- Rubini Jewelers
- Vespoli USA
- WinTech Racing